


 English
 Español
 عربى
عربى Deutsch
 русский
 Français
How to Safely Trim Your Pet's Nails at Home Without Stress or Injury
Content
- 1 Why Regular Nail Trimming Matters
- 2 Tools You Need Before You Start
- 3 Step-by-Step: How to Trim Nails Safely
- 4 Signs Your Pet's Nails Are Overdue for a Trim
- 5 Recommended Grooming Tools for At-Home Nail Care
- 6 What to Do If You Cut the Quick
- 7 How Often Pets Actually Need a Trim
- 8 Making Trims Easier for Anxious Pets
The safest way to trim your pet's nails at home is to use a purpose-built clipper or grinder, trim only the very tip of the nail in small increments, and stop the moment you see a pink or dark dot appear in the center of the cut surface, since that marks the start of the quick. Most dogs and cats only need their nails trimmed every three to four weeks, and with the right tool and a calm, well-lit setup, the entire process usually takes less than ten minutes.
Why Regular Nail Trimming Matters
Overgrown nails do more than click on hardwood floors. When a nail grows past the point where it naturally touches the ground, it pushes the toe joint out of its normal position every time your pet walks. Veterinary podiatry references note that nails left untrimmed for months can force the paw to splay, leading to joint strain and, in severe cases, the nail curling back into the paw pad. A simple habit of trimming every few weeks prevents this cycle before it starts.
Long nails also increase the risk of snagging on carpet, bedding, or furniture, which can tear the nail bed and cause a painful bleeding injury far worse than a routine trim. Keeping nails short is one of the lowest-cost, highest-impact things a pet owner can do for long-term mobility and comfort.
Tools You Need Before You Start
Using the wrong tool is the single biggest reason home nail trims go wrong. A dull or oversized clipper crushes the nail instead of cutting it cleanly, which causes pain even when the quick is avoided. The table below compares the three most common tool types.
| Tool Type | Best For | Notes |
| Guillotine clipper | Small to medium dogs, cats | Fast single cut, blade must stay sharp |
| Scissor-style clipper | Medium to large dogs | Better leverage for thick nails |
| Rotary grinder | Anxious pets, thick or dark nails | Gradual filing, lower risk of overcutting |
Beyond the clipper itself, keep a few extras within reach: a styptic powder or cornstarch in case of a small nick, a non-slip mat so your pet feels stable, and treats for positive reinforcement. A stainless steel clipper with a safety guard is a good default choice for first-time trimmers, since the guard limits how much nail can be removed in a single squeeze.
Step-by-Step: How to Trim Nails Safely
Follow this sequence rather than rushing straight to the clipper. Each step reduces the chance of a stressful session for both you and your pet.
- Choose a calm moment. Trim after exercise or a meal, when your pet is naturally more relaxed, not right after waking up or during high energy play.
- Get a firm but gentle hold of the paw. Press the pad gently to extend the nail, and avoid squeezing the toe itself.
- Identify the quick first. On light-colored nails, the pink area is visible from the side. On dark nails, look for a small chalky dot appearing on the cut surface as you trim closer.
- Cut in small slices, not one large snip. Take off 1 to 2 millimeters at a time rather than attempting to reach the ideal length in a single cut.
- Stop at the first sign of the quick. A small gray or pink dot in the center of the nail means the next cut would draw blood.
- File any sharp edges. A quick pass with a nail file smooths the cut and prevents snagging.
- Reward immediately. Ending each paw, or even each nail, with a treat builds a positive association for future sessions.
Signs Your Pet's Nails Are Overdue for a Trim
| Sign | What It Means |
| Audible clicking on hard floors | Nails extend past the paw pad |
| Nail visibly curves or touches the ground when standing | Well overdue, joint strain risk increasing |
| Pet slips or splays paws on smooth surfaces | Loss of normal paw grip due to nail length |
| Scratches appear during normal petting | Sharp, untrimmed tips catching on skin |
Recommended Grooming Tools for At-Home Nail Care
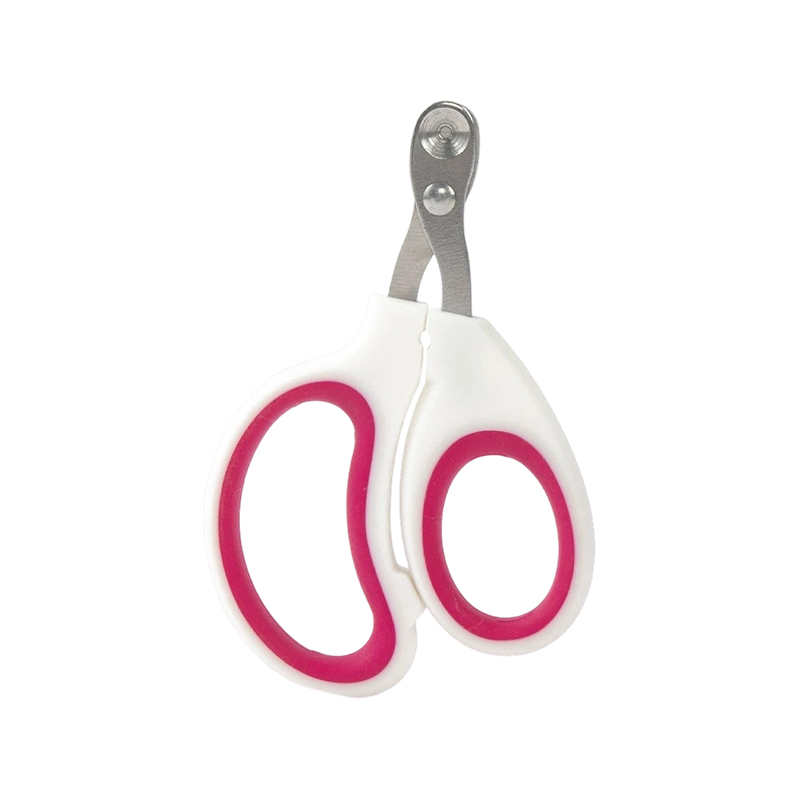
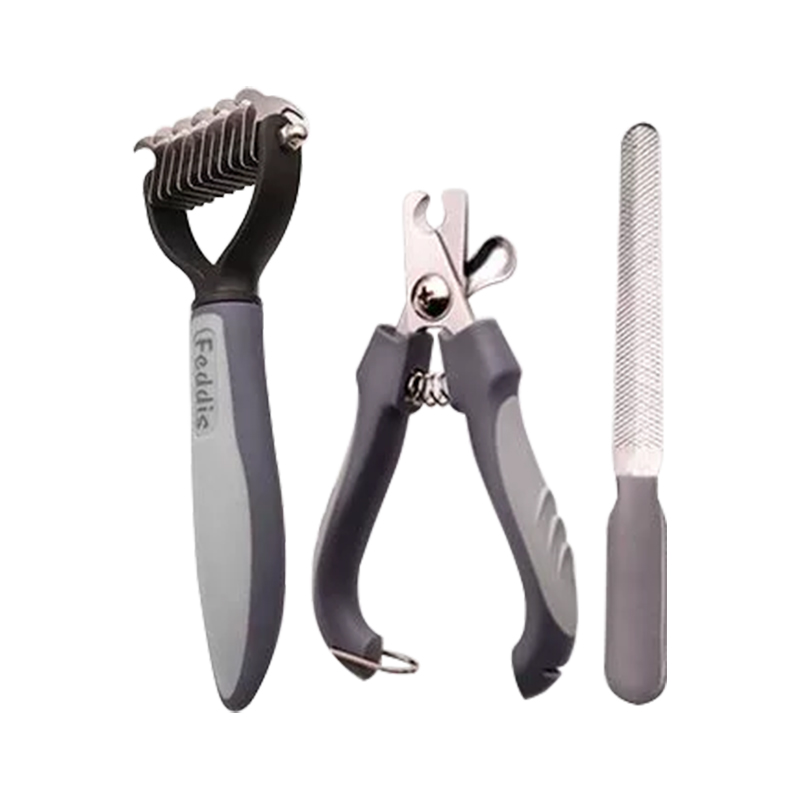
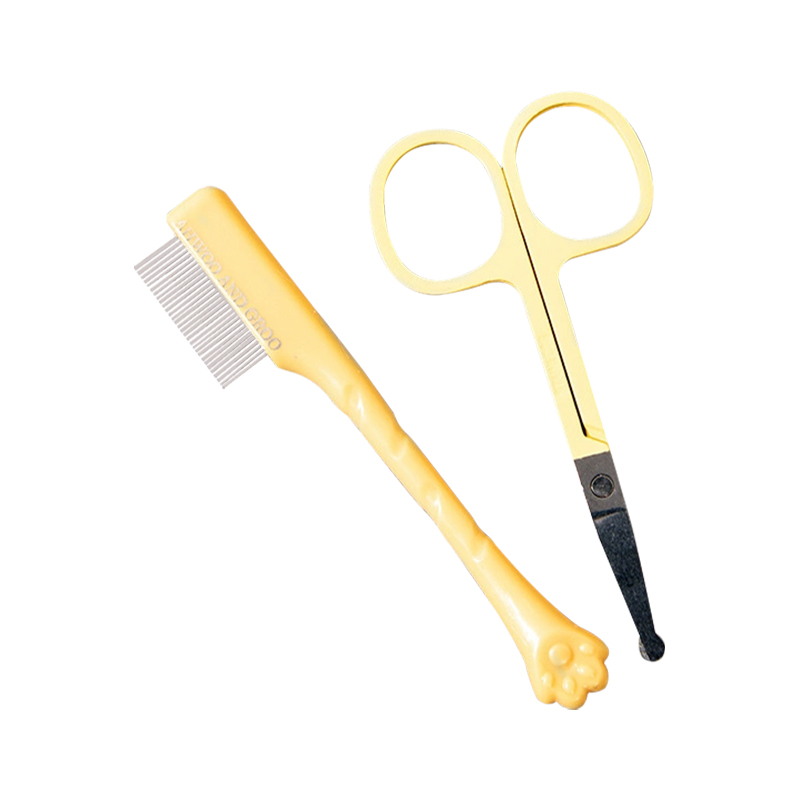
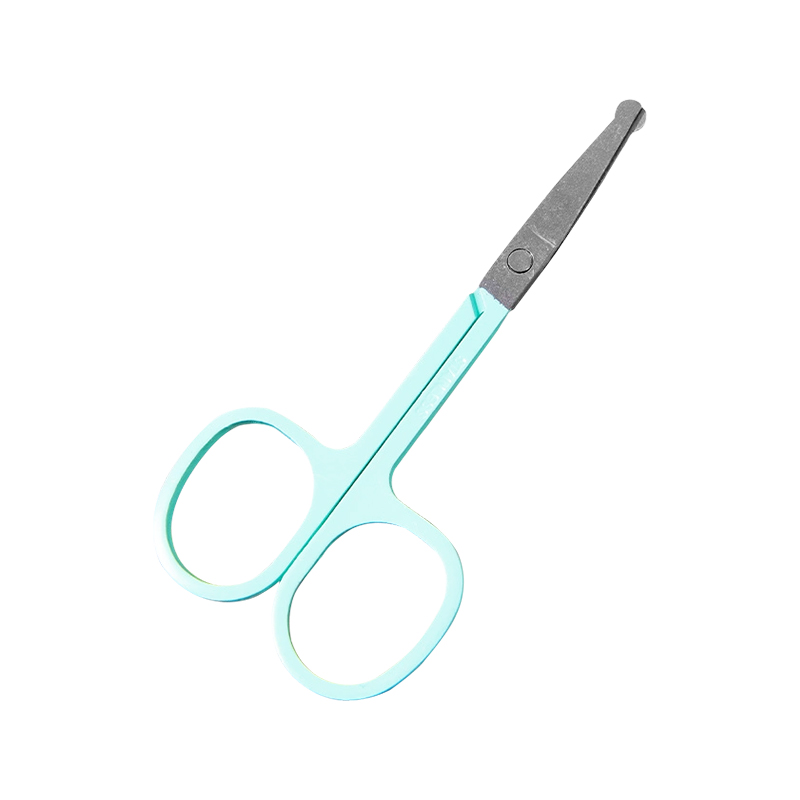
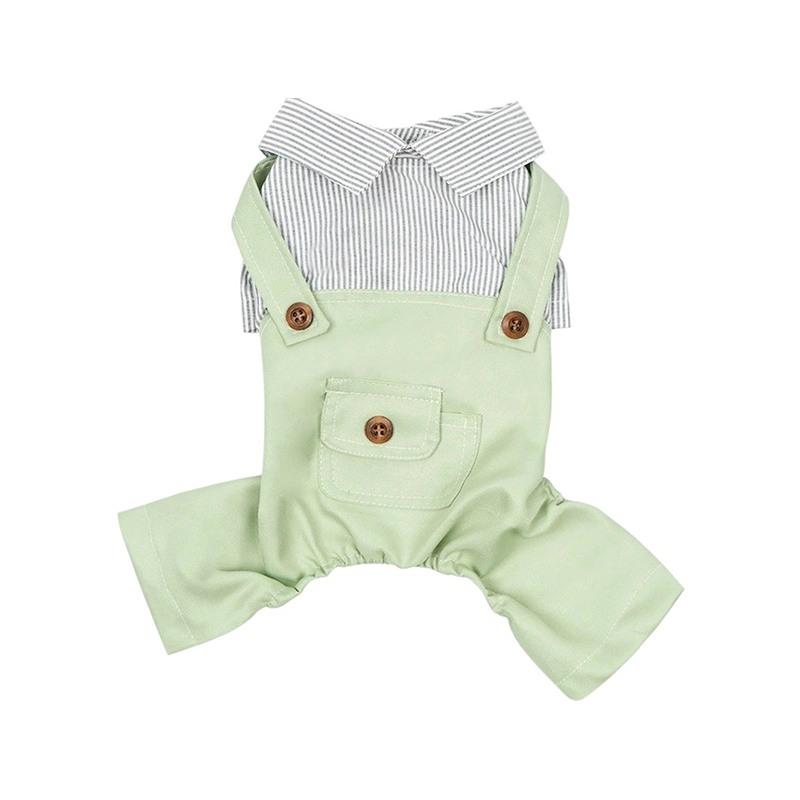
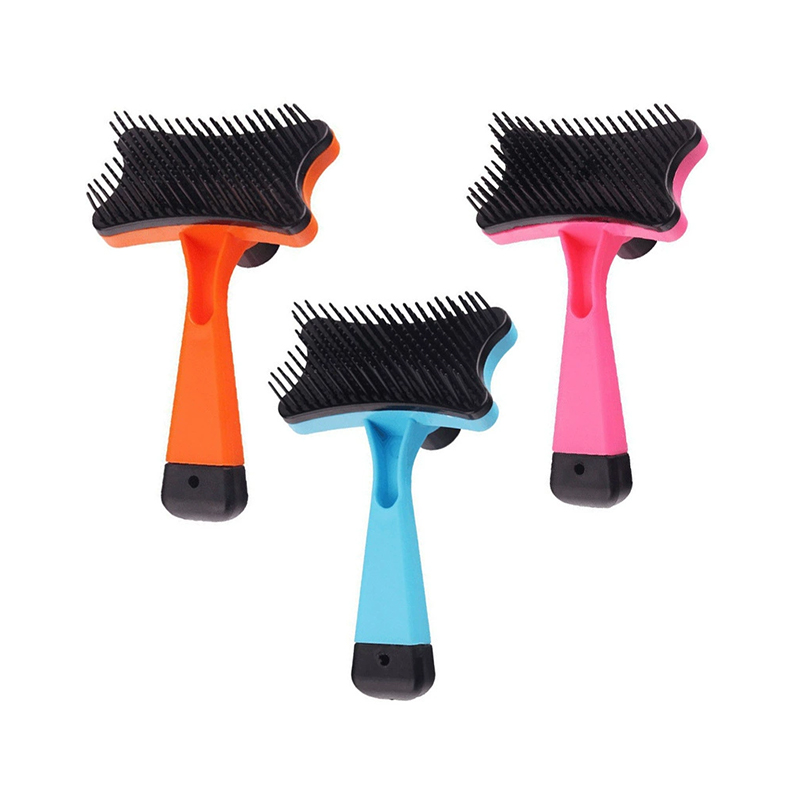
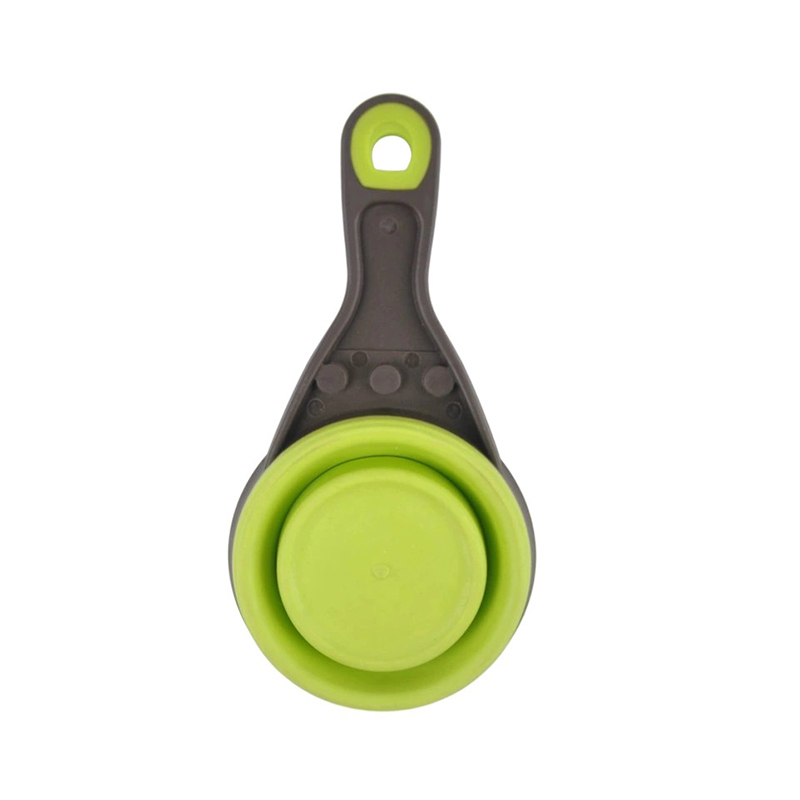
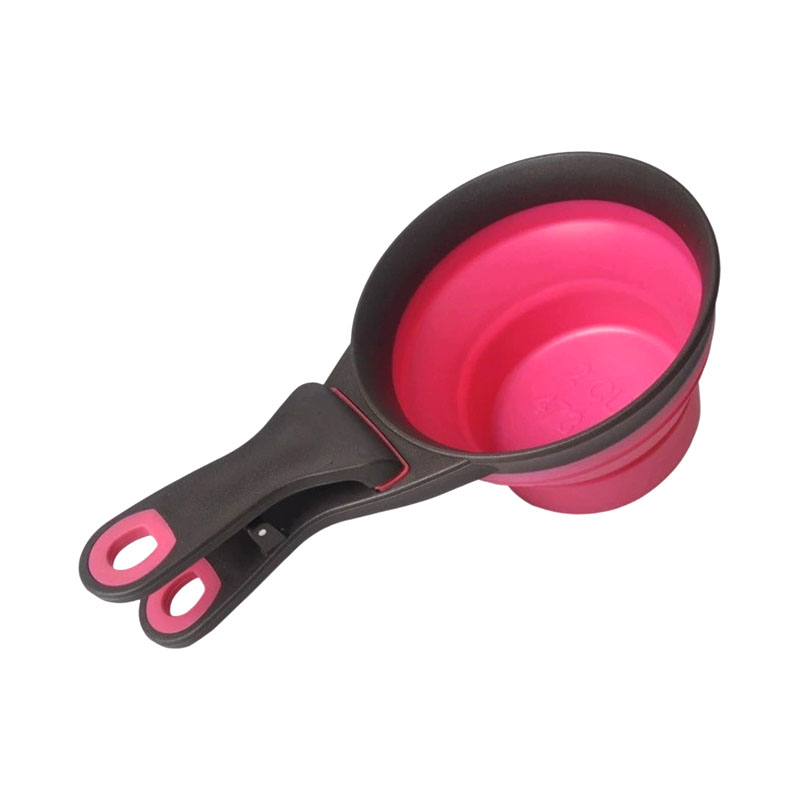
A well-designed grooming set makes trimming safer and faster for both first-time and experienced pet owners. The tools below are built for controlled, low-stress at-home grooming sessions.
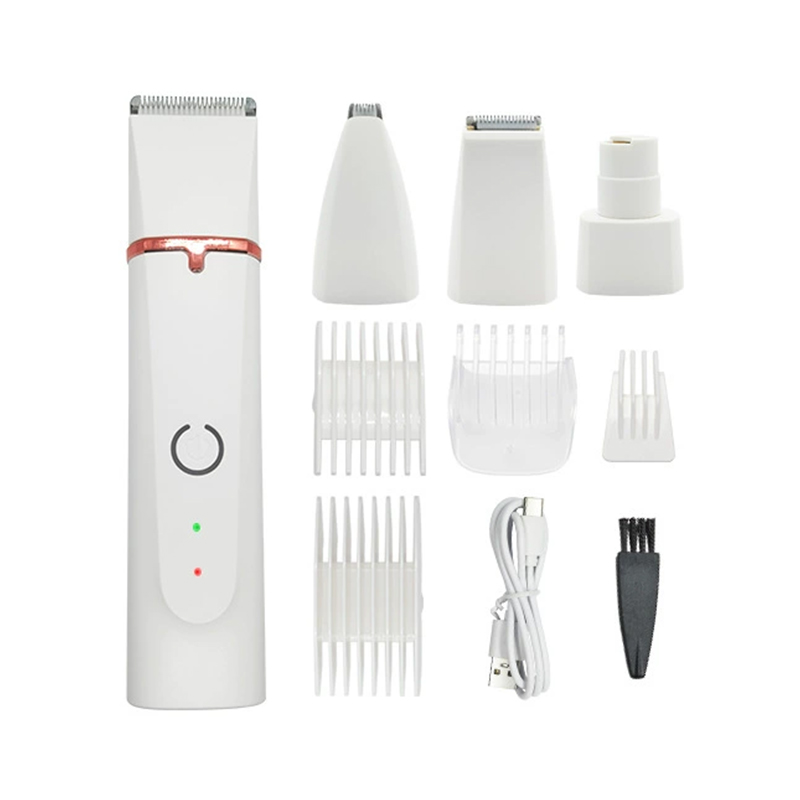
What to Do If You Cut the Quick
Even careful owners occasionally nick the quick. If bleeding occurs, stay calm, since your pet will pick up on stress. Press a small amount of styptic powder or plain cornstarch onto the tip and hold gentle pressure for about 30 seconds. Bleeding from a nail typically stops within one to two minutes. Avoid using tissue alone, as it can stick to the wound and reopen it when removed.
One accidental nick does not mean the session was unsafe. It simply means the next cut on that nail should be smaller. Many groomers consider an occasional light nick a normal part of learning proper spacing for each individual pet's nail structure.
How Often Pets Actually Need a Trim
Trim frequency depends more on lifestyle than breed. Dogs that walk regularly on pavement wear their nails down naturally and may only need trims every five to six weeks. Indoor cats and dogs on soft surfaces like grass or carpet usually need trims every two to three weeks, since there is no surface friction to wear the nail down. A simple monthly check, even if no trim is needed, keeps you ahead of overgrowth.
Making Trims Easier for Anxious Pets
- Introduce the clipper without cutting first, letting your pet sniff and hear the sound of it clicking in the air.
- Trim one or two nails per session instead of all of them at once if your pet becomes tense.
- Use a grinder instead of a clipper for pets sensitive to pressure, since grinding removes small amounts gradually.
- Keep sessions under five minutes and always end on a calm, successful note rather than pushing through stress.
Interested in cooperation or have questions?



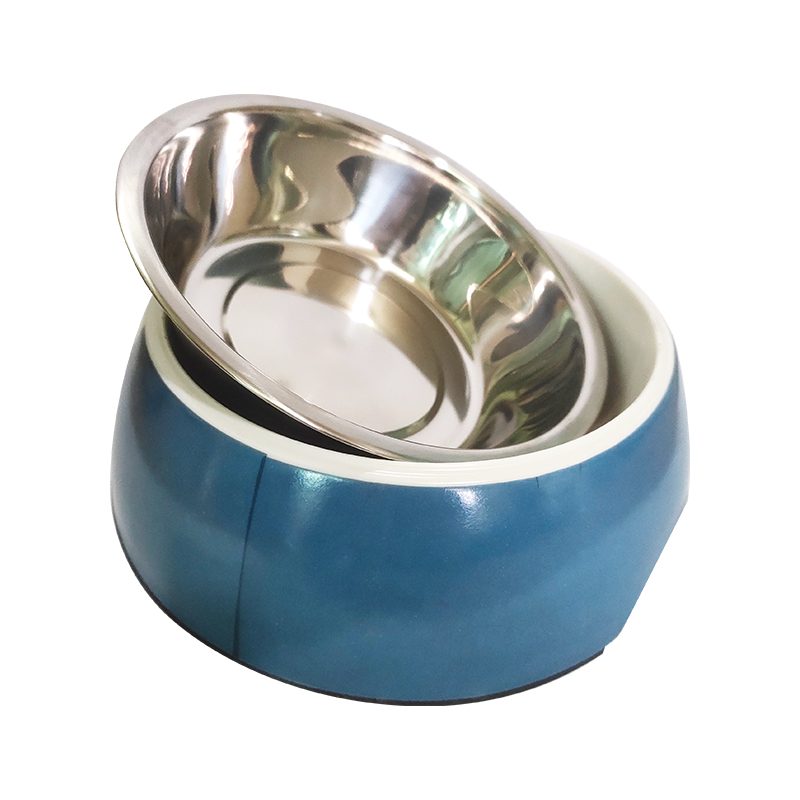
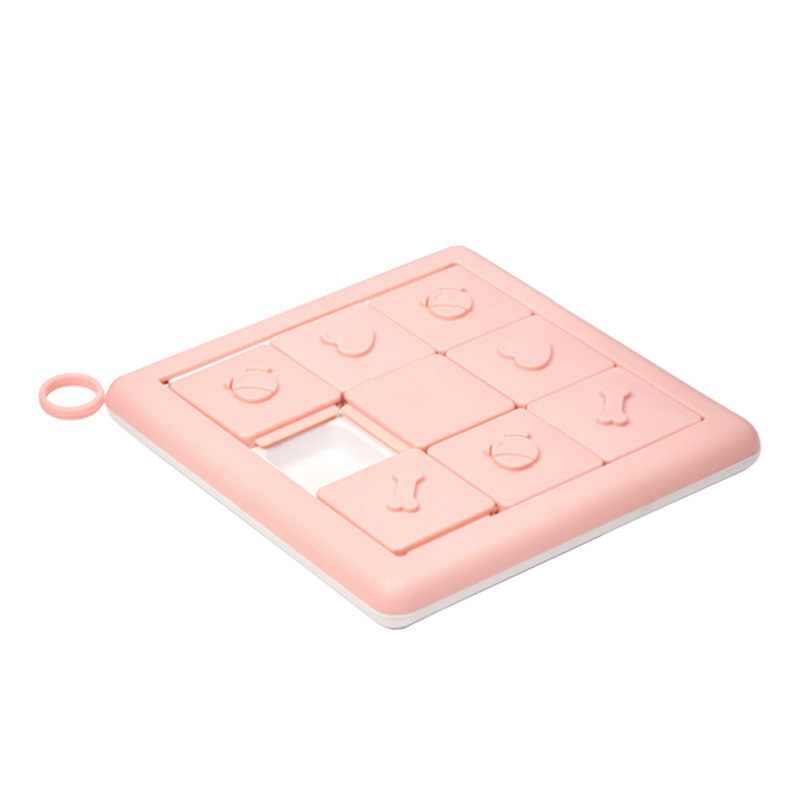





Whether you need a personalized product or a professional design, our team will bring your ideas to life. Together, let's create a world where pets thrive and are happy!
-
 No.13-1, Haikou Village, Xidian Town, Ninghai Country, Ningbo, China.
 -
 +86 13867893287
 -
 [email protected]
Copyright © Ningbo Welltrop Industrial Products Manufacturing Co., Ltd. All Rights Reserved. China Pet Supplies Manufacturers Wholesale Pet Products Factory
